


XGIMI Projector Intelligent Screen Alignment Function Usage and Precautions
By XGIMI Tech - 2026-03
What is Intelligent Screen Alignment Function?
Intelligent Screen Alignment is a smart features that can automatically adjust the projection image to match the screen size, which aims to simplifies the setup process.
After enabling the Intelligent Screen Alignment switch and Auto Keystone Correction in the settings, the projector will intelligently adjust the image to align with the edges of the screen.

Steps to Enable Intelligent Screen Alignment on Different XGIMI Projector Models
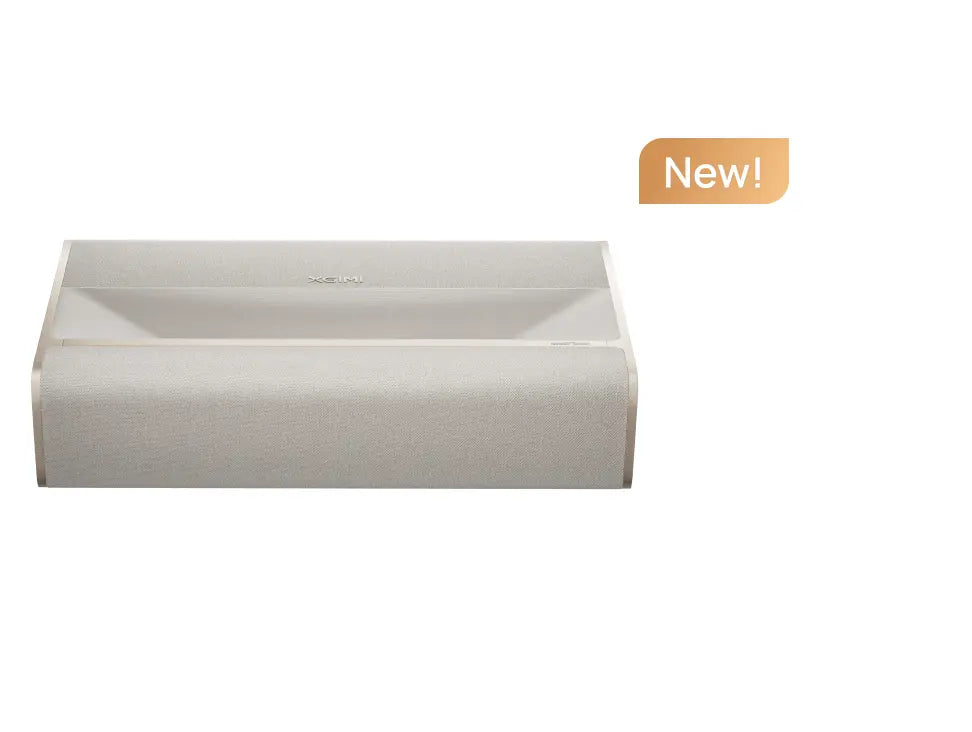
1. For MoGo 3 Pro、Halo+(New)、HORIZON 20 Max、HORIZON 20 Pro、HORIZON 20
In “All Settings” → “Projector” → “Keystone/Image Correction,” click on “Keystone Settings”.


And enable Auto Screen Alignment.

2. For HORIZON Ultra、HORIZON S Pro、HORIZON S Max
Press the settings button on the remote briefly, open “Projector Settings”→ “More Image Correction Settings”, and then click on “Keystone Settings”.
ISA Setting-HU HSM HSP")
ISA Setting-HU HSM HSP")
And enable Auto Screen Alignment.
ISA Setting-HU HSM HSP")
3. For MoGo 2、MoGo 2 Pro、Halo+、Elfin、HORIZON、HORIZON Pro
Briefly press the settings button on the remote, open “Shortcut Settings”, select “Keystone Correction”, and then click on “Keystone Settings”.
ISA Setting-M2, M2P, H, HP")
ISA Setting-M2, M2P, H, HP")
And enable Auto Screen Alignment.
ISA Setting-M2, M2P, H, HP")
4. For Elfin Flip
Go to “Settings” → “Image Correction” and click on “Image correction settings”.
And enable Auto Screen Alignment.
Notes:
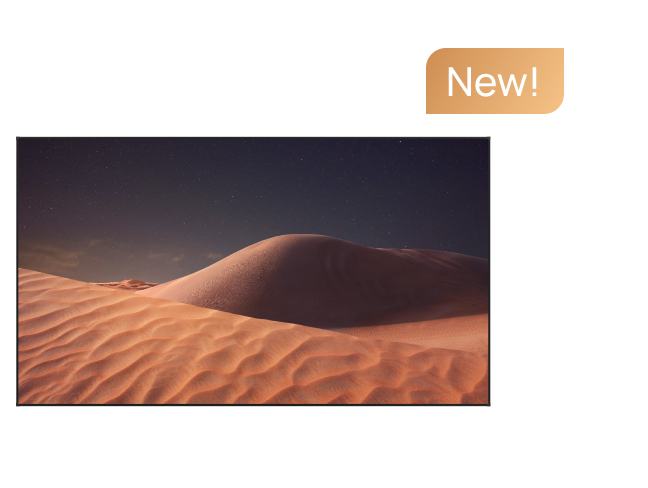
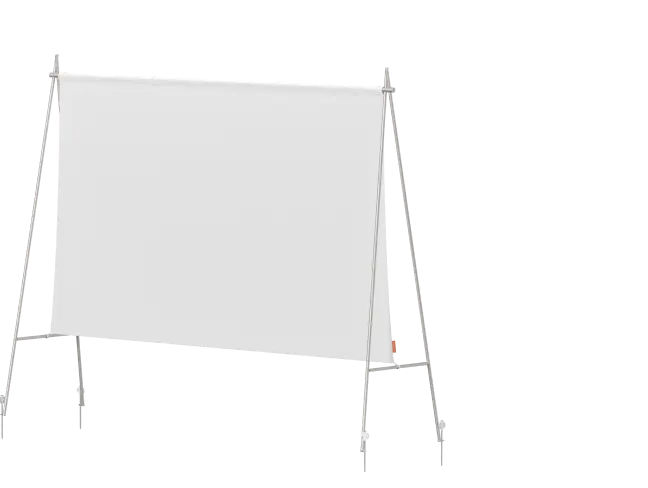
①Make Sure the Screen Has a 16:9 Aspect Ratio
Since the projector’s UI is 16:9, it is recommended to use a 16:9 screen to achieve a properly proportioned image. Using screens with other aspect ratios may result in the image not fully fitting the screen, or cause distortion after adjustment.

②The Screen Should Have Black Borders Around the Edges
The black borders serve as reference markers for the projector’s Intelligent Screen Alignment feature to detect the screen boundaries. If the screen does not have black borders, the projector may not correctly identify the screen area.

③The Screen Surface Should Preferably Be a Standard Surface Without Special Optical Coatings.
Screens with special optical coatings may interfere with the projector’s sensors. This could result in auto keystone correction working properly on a white wall but generating errors when used with the screen.
④The Projector’s Digital Default Image Must Fully Cover the Entire Screen Area.
The Intelligent Screen Alignment function relies on digital keystone correction and can only adjust the image inward from the edges of the digital default image. If the default image does not completely cover the screen, the keystone function cannot expand the image to areas that were not originally covered.
How to Restore the Default Screen on Different XGIMI Smart Projectors?
1. For MoGo 3 Pro、Halo+(New)、HORIZON 20 Max、HORIZON 20 Pro、HORIZON 20
Go to All Settings → Projector → Keystone / Image Correction, then select Screen Restore at the bottom of the list.
2. For HORIZON Ultra、HORIZON S Pro、HORIZON S Max
Press the settings button on the remote briefly, open “Projector Settings”→ “More Image Correction Settings” → “Keystone Settings”, and then click on “Keystone Restore”.
3. For MoGo 2、MoGo 2 Pro、Halo+、Elfin、HORIZON、HORIZON Pro
Briefly press the settings button on the remote, open “Shortcut Settings”, select “Keystone Correction” → “Keystone Settings”, and then click on “Keystone Restore”.
4. For Elfin Flip
Go to “Settings” → “Image Correction” and click on “Screen restore”.

Notes:
①The Projected Image On the Screen Must Occupy More than Half of the Total Area of the Projector’s Digital Default Image.
If the projector is placed too far away, the digital default image will become very large, and the portion of the image falling within the screen may occupy only a small fraction of the total projection area. This can exceed the keystone correction adjustment limits.
Even if adjustment is possible, it may result in significant image quality loss—potentially more than 75%. It is recommended that the digital default image be slightly larger than the screen so that only minor adjustments are needed, minimizing image quality loss.

②In the Correction Settings, Ensure that Intelligent Screen Alignment is Enabled Before Selecting Auto Keystone Correction.
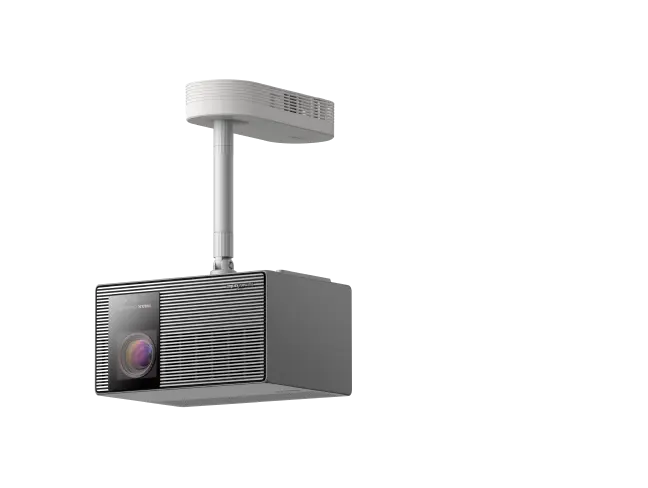
③Make Sure Lens Shift is Not in Use
For some models, such as the HORIZON 20 Max, once lens shift is applied, the projected image may move outside the projector’s sensor detection range. In this case, Auto Keystone Correction and Intelligent Screen Alignment will no longer function. If you need to use Intelligent Screen Alignment, it is recommended to restore the image to default first, and then select Auto Keystone Correction.
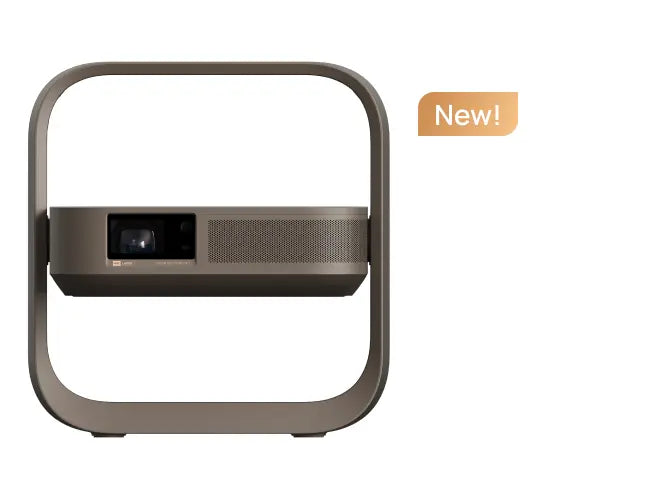
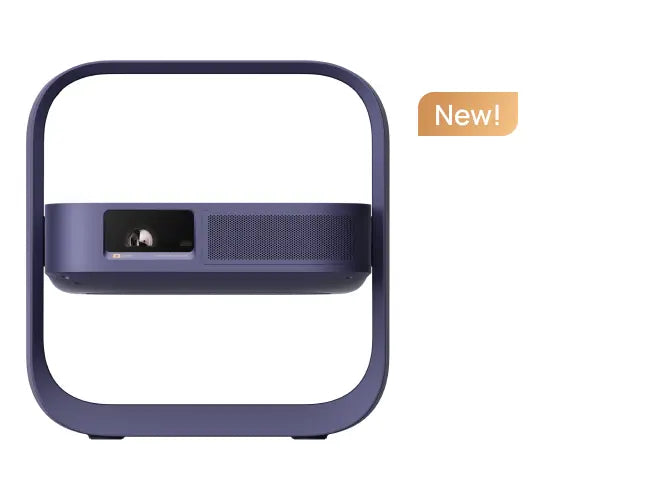
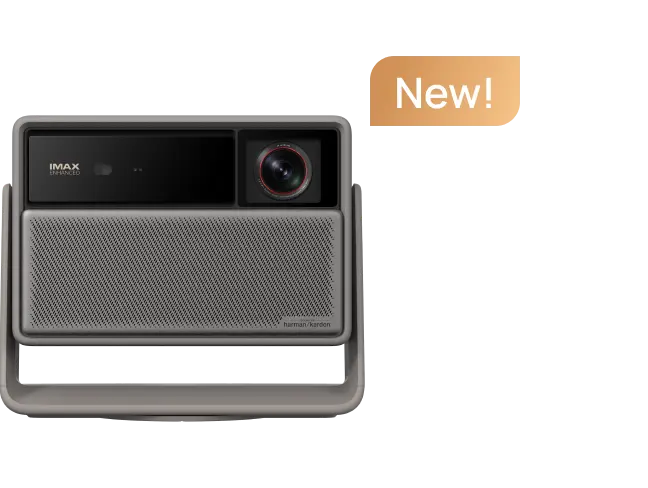
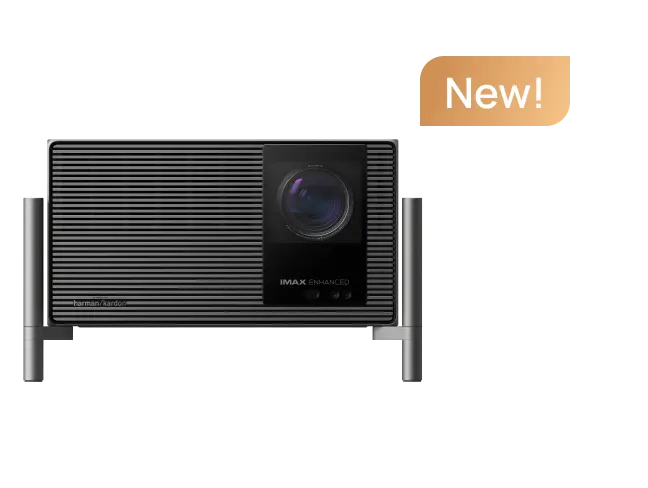
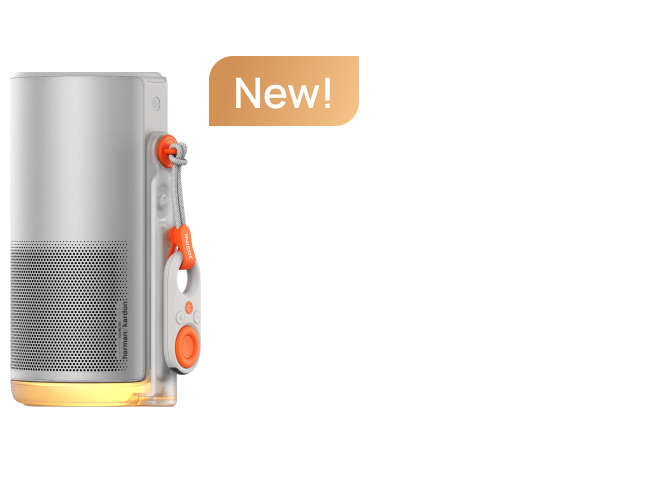
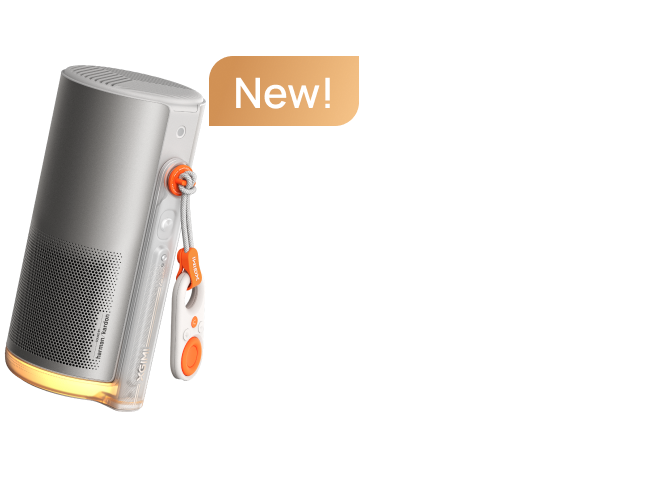
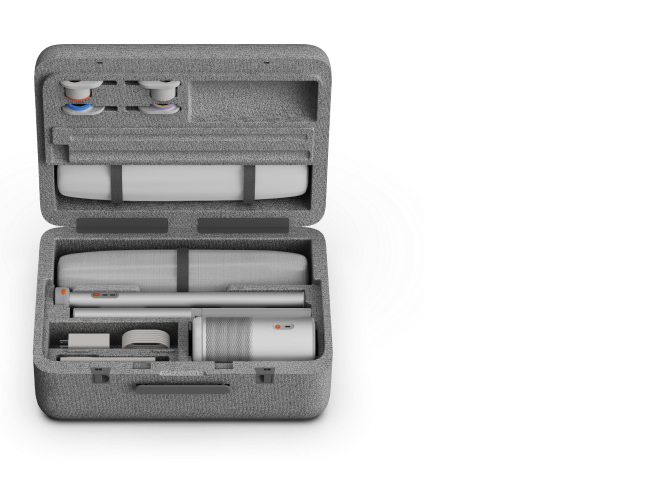
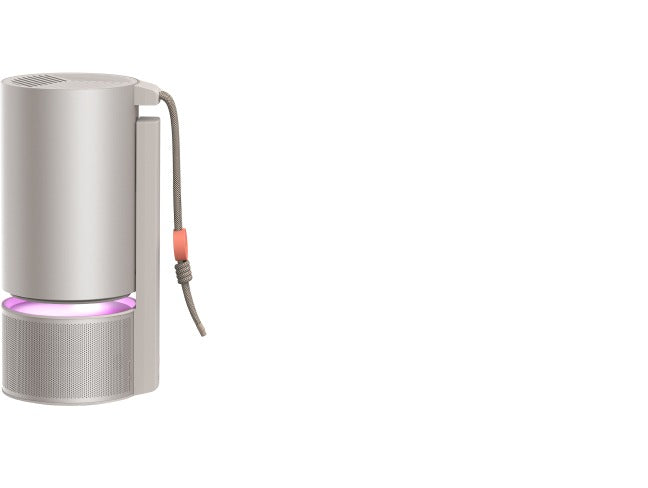
Projector Recommendations
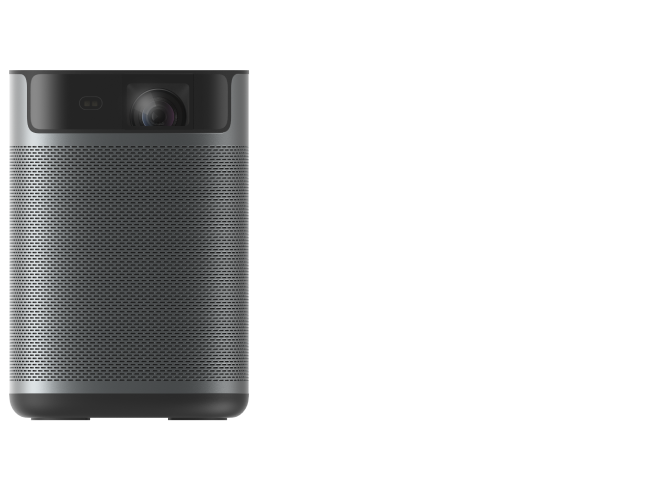
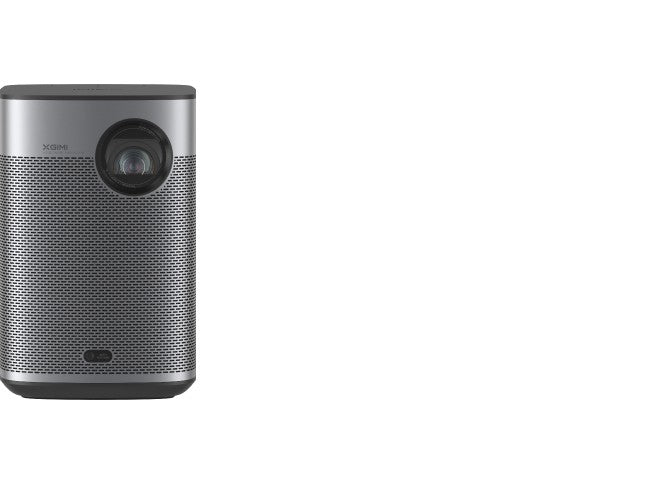
Just Play, Your Way
Google TV Smart 1080p Projector On-the-Go

Mini Size,
Maximum Entertainment

Mini Remote Control


Enjoy 10€ off Your Next Purchase
Be the first to know about any news and sales!
*By subscribing, you agree to receive XGIMI's marketing emails and XGIMI's Privacy Policy.