
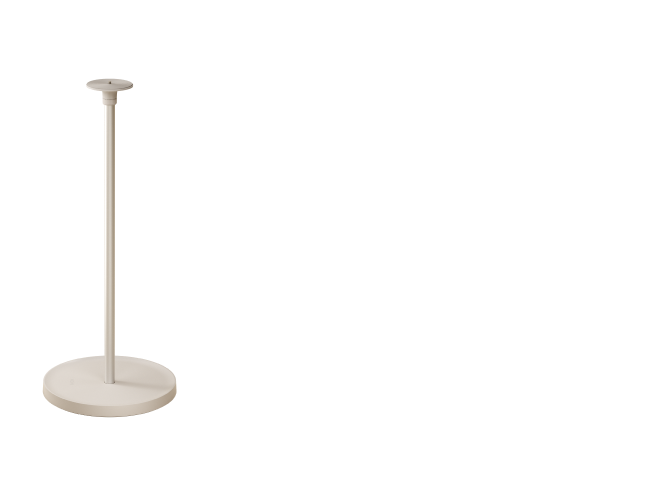
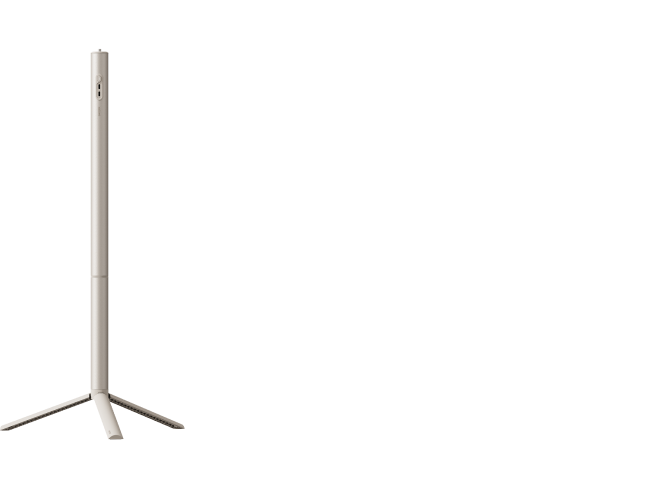
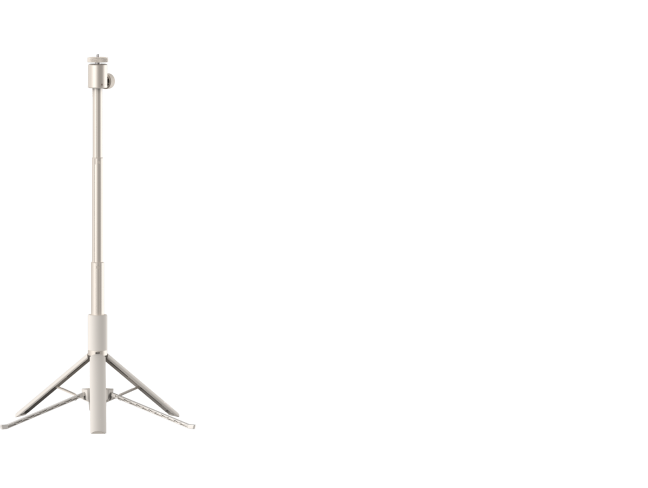
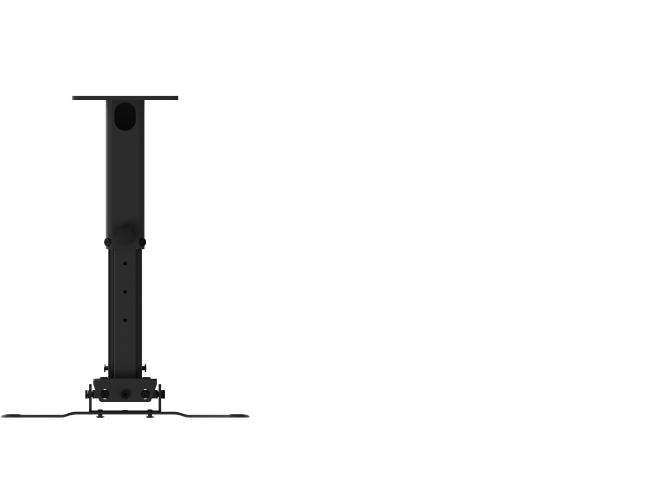



In the audiovisual experience, projectors are a versatile tool that can .transform any space into an immersive multimedia environment. Whether you're a home theatre enthusiast, a business professional giving a presentation, or an educator creating an immersive learning environment, careful installation is the key to unlocking a projector's full potential. This blog post will explore the basic steps and options for seamlessly installing a projector.
Choosing the Perfect Location
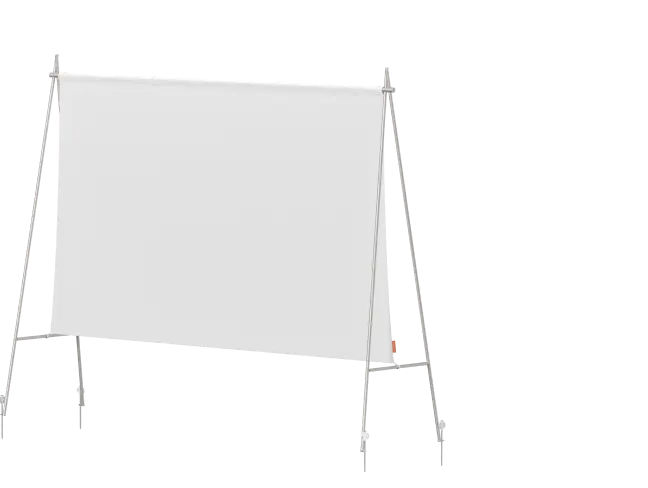
You can start by selecting an ideal projection surface.
Then, you have to know the best throw ratio of your projector to determine the ideal distance between the projector and the screen.
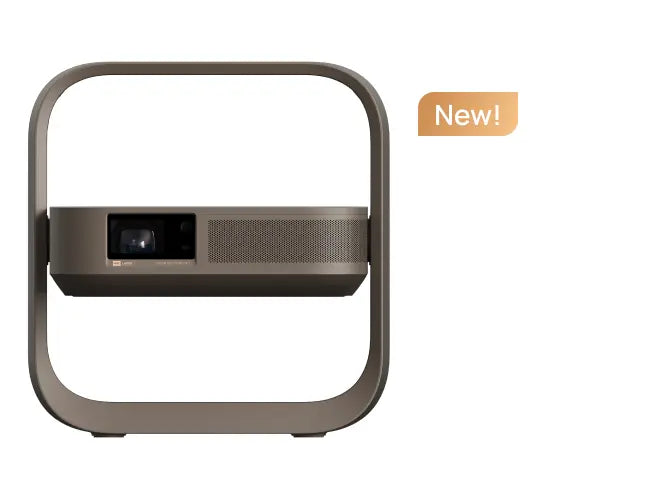
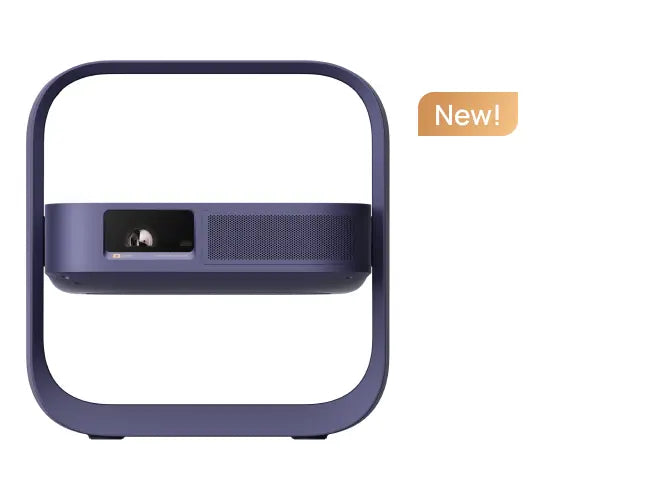
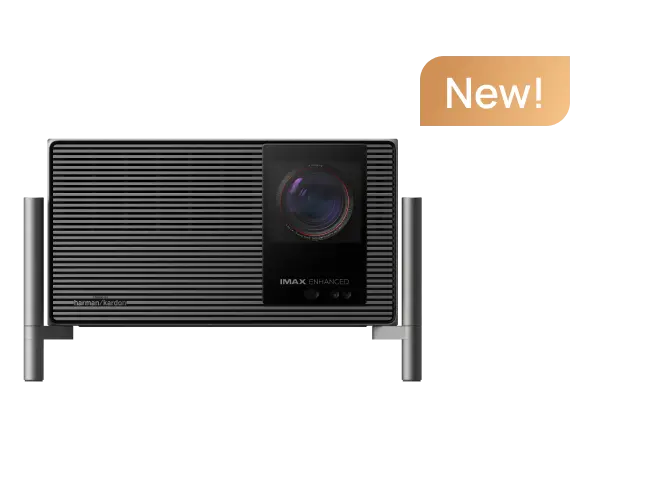
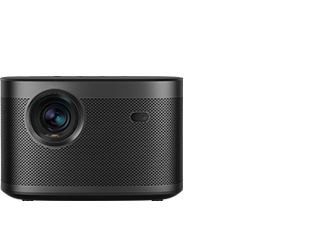
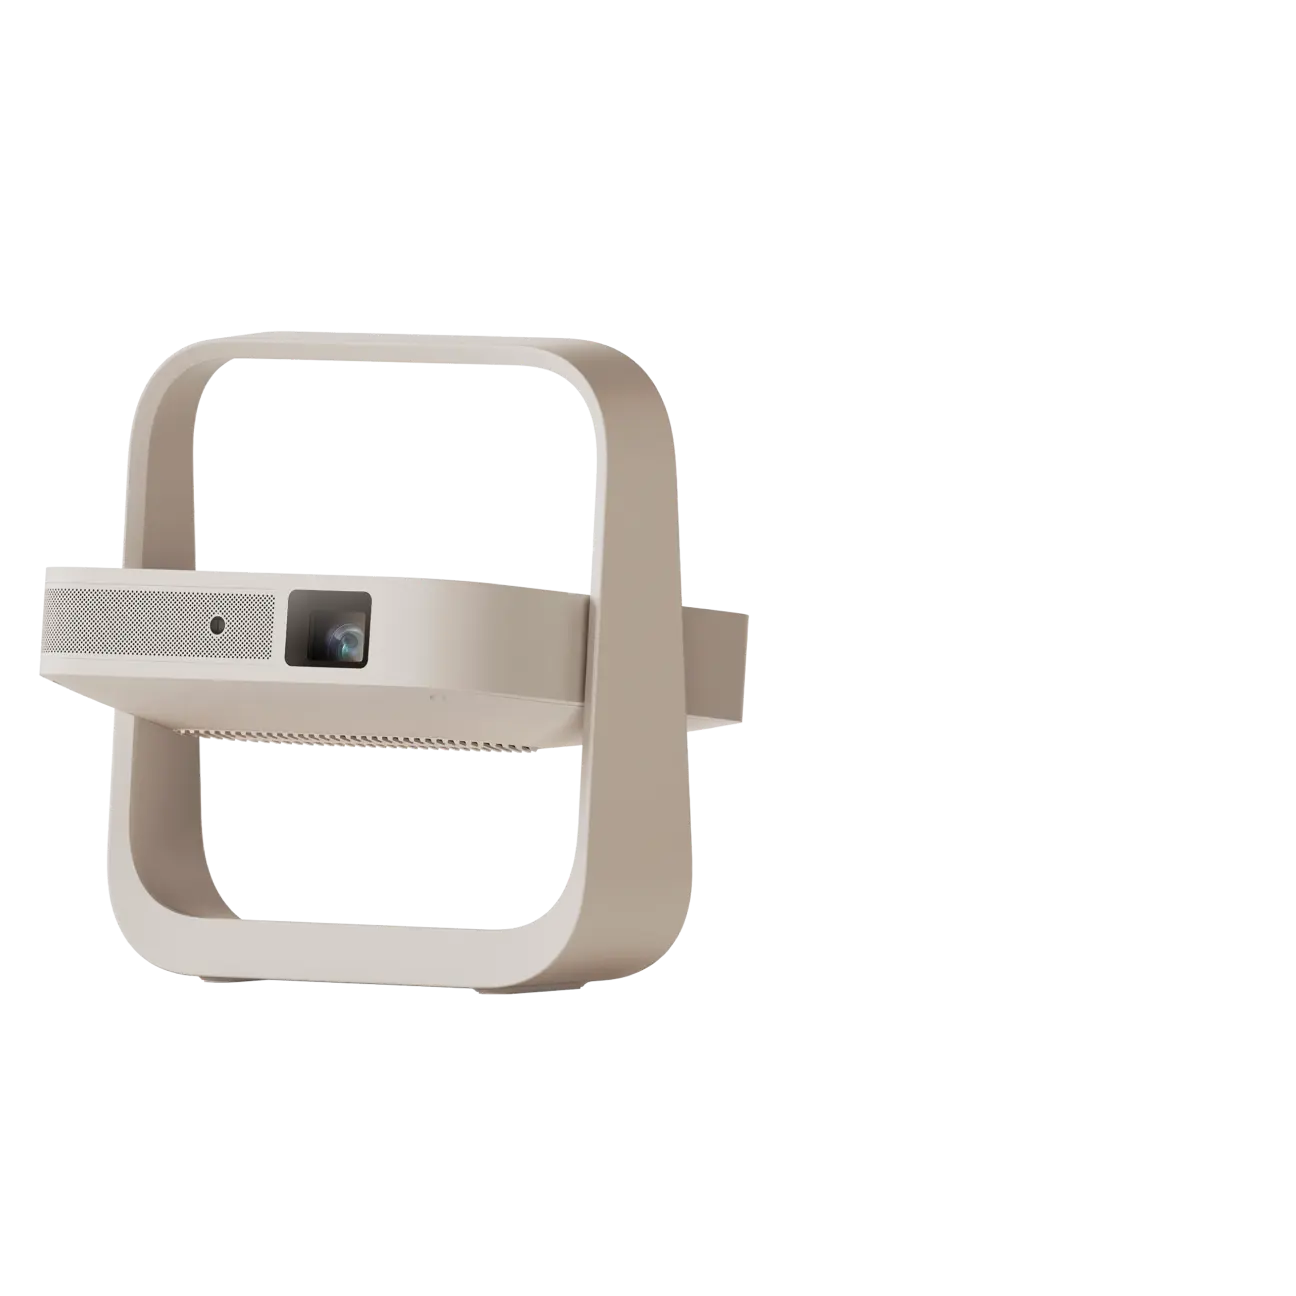
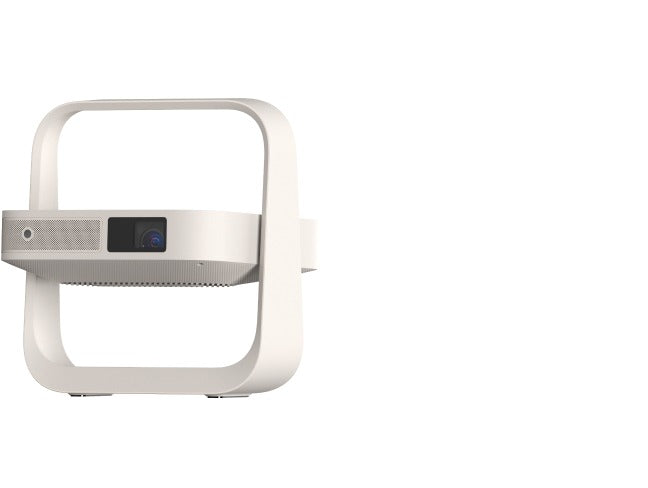
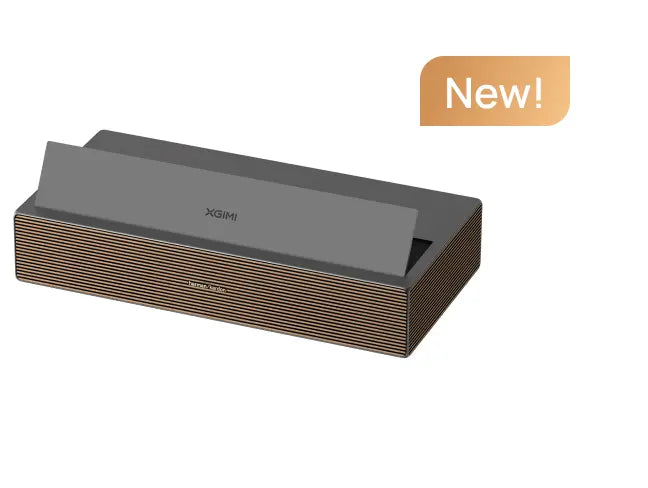
● Long-throw projectors typically have a throw ratio greater than 1 and are usually placed farther from the screen. They need to be positioned farther back to produce a large image, such as the XGIMI HORIZON 20 (throw ratio: 1.2–1.5:1).
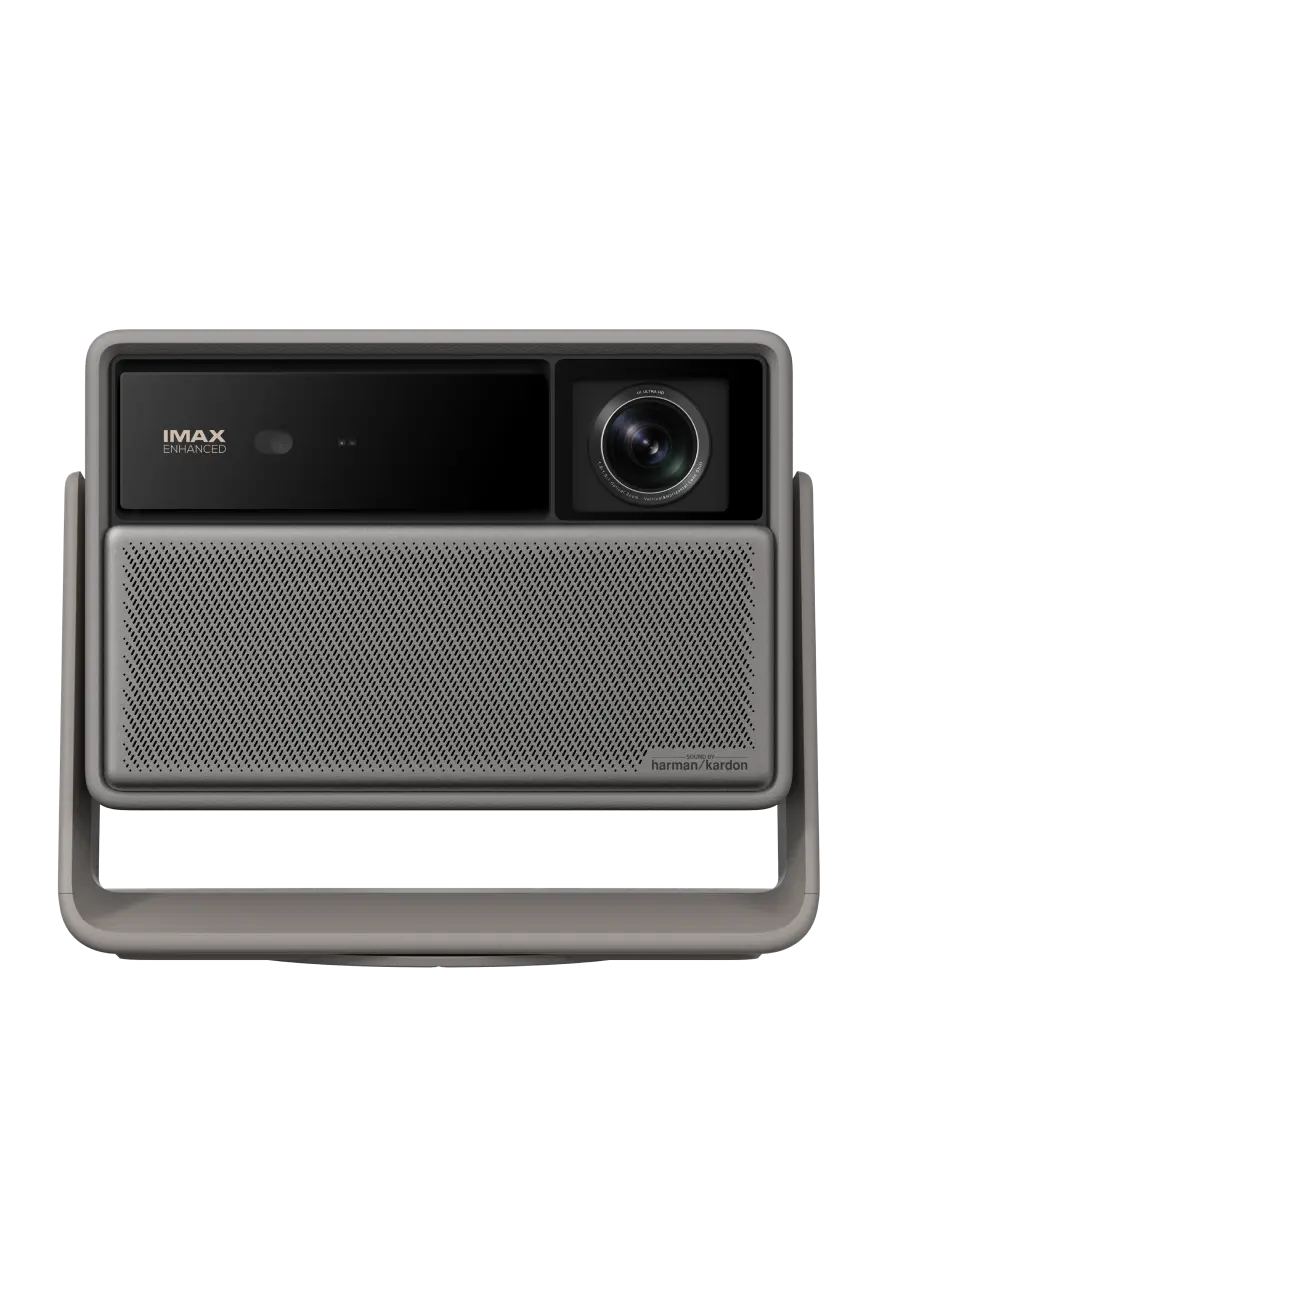
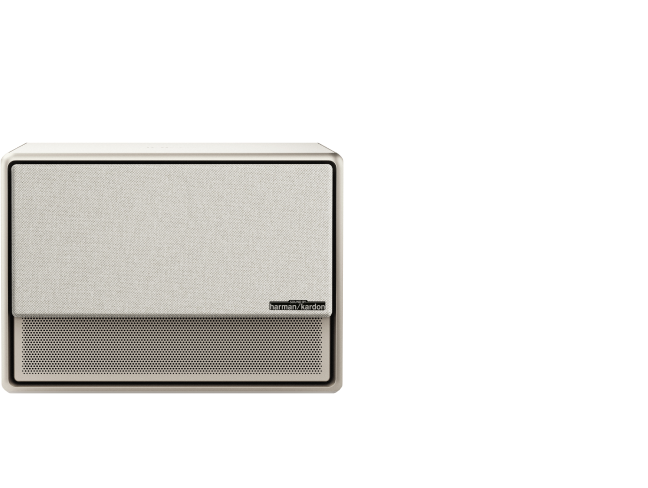
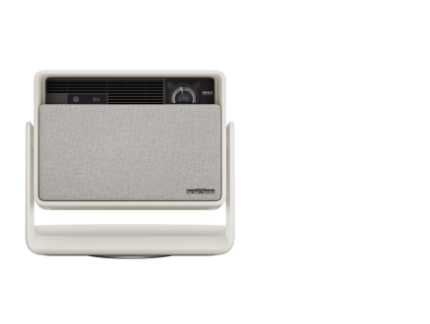
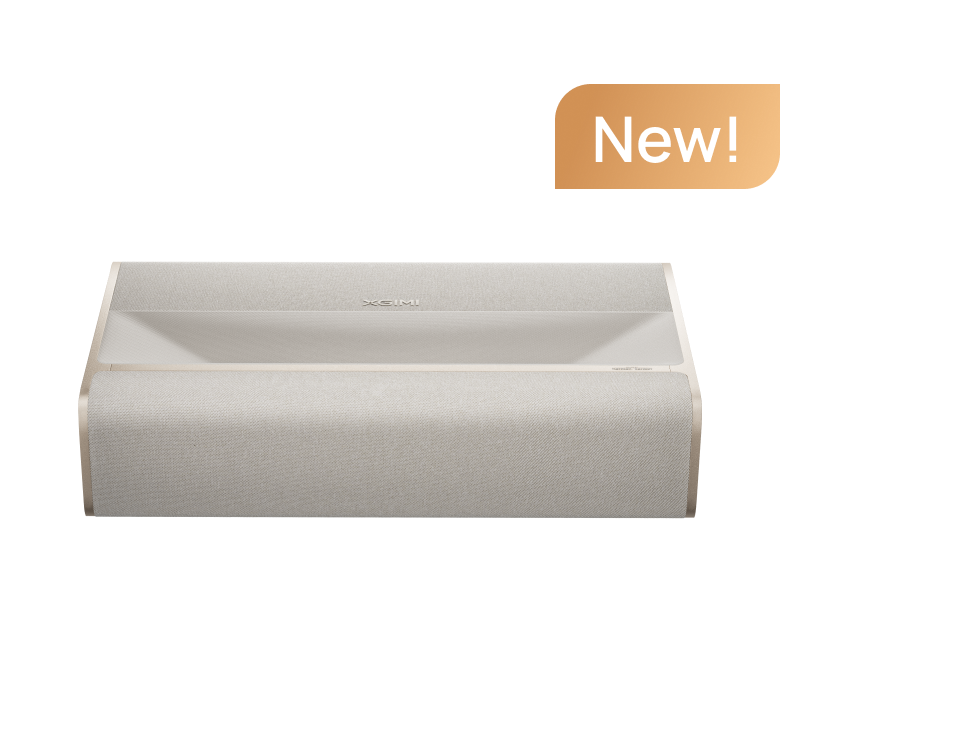
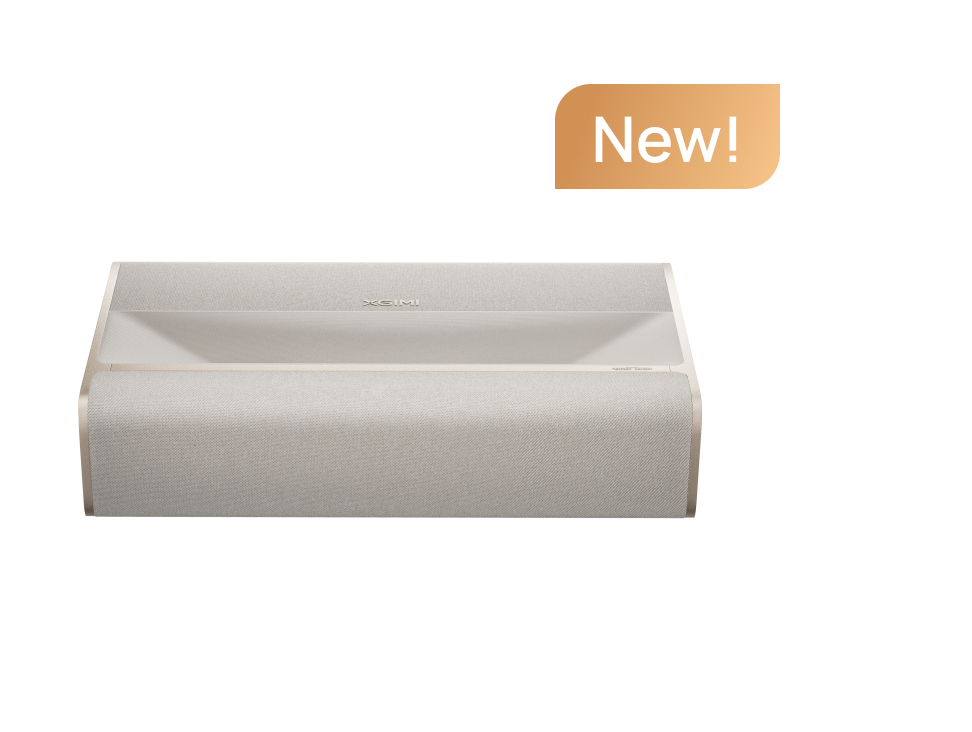
● Ultra-short-throw (UST) projectors typically have a throw ratio of less than 1, which means they can be placed very close to the screen while still producing a large image, such as the XGIMI AURA 2 4K UST projector (throw ratio: 0.177:1).
article_product1

Versatile Mounting Options for Projectors
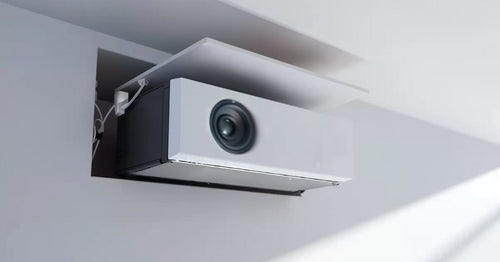
1. Fixed Enclosure Installation
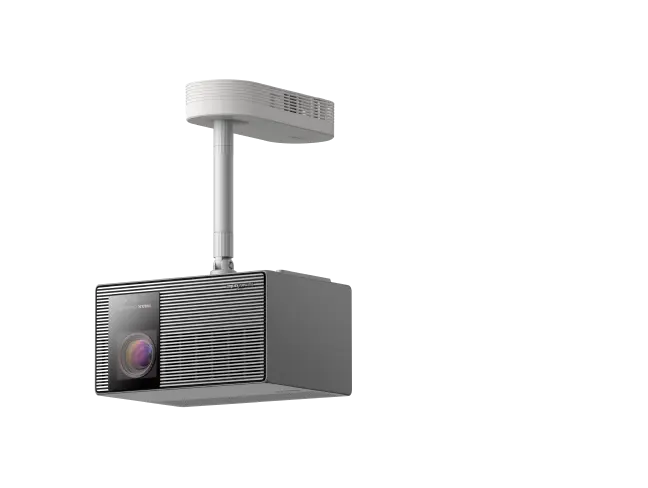
A fixed box-out installation is popular for a more permanent and robust setup. This involves mounting the projector within a dedicated enclosure or container attached to the ceiling. This option provides stability and a clean, organized appearance. Fixed box-out installations are suitable for spaces where the projector's position remains constant, seamlessly integrating the room's design.
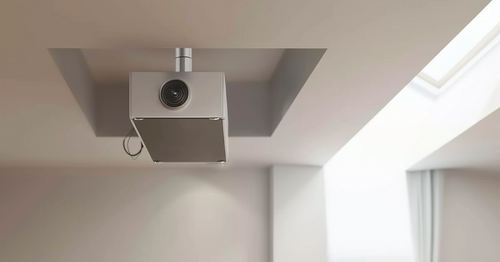
2. Projector Lift
Projector lifts offer a sleek and space-saving solution for concealing projectors when not used. These motorized systems are typically installed within the ceiling, allowing the projector to descend or ascend as needed.
3. Wall Mounted Projector
When ceiling installation is not feasible, wall-mounted projectors offer a practical alternative. This method involves securing the projector directly to the wall. Wall-mounted projectors are versatile, allowing for easy adjustment of projection angles and minimizing the need for additional equipment.

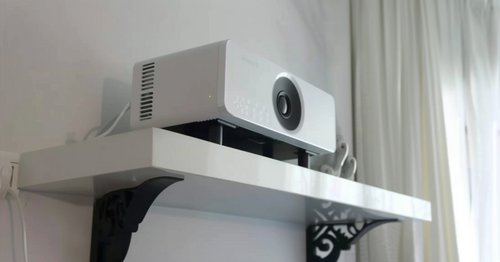
4. Shelf
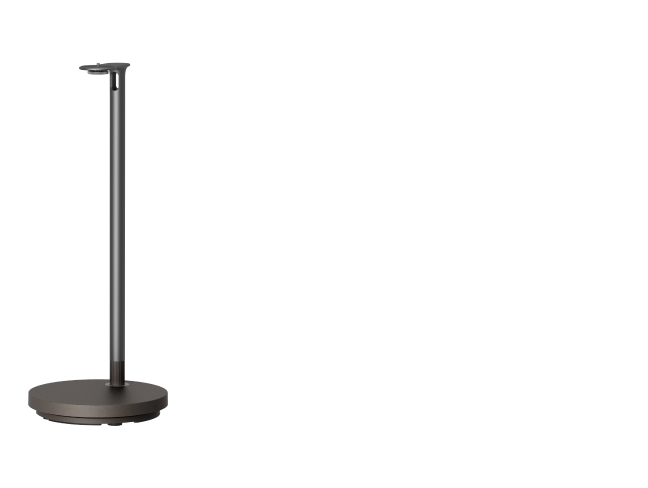
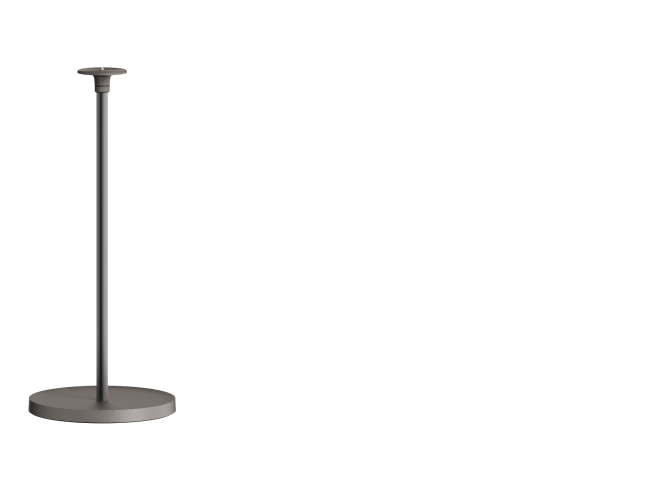
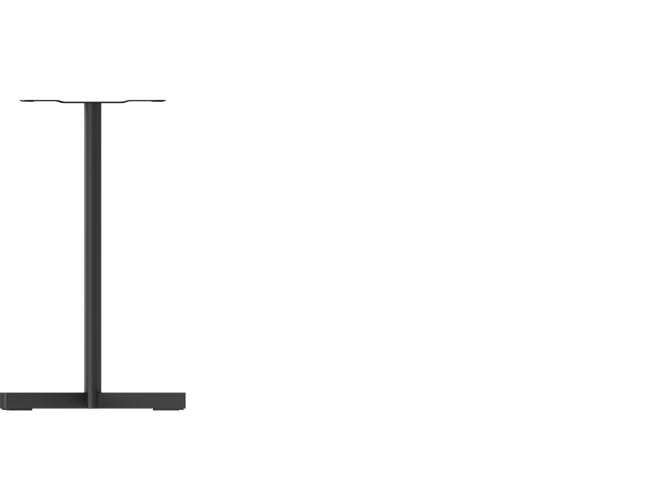
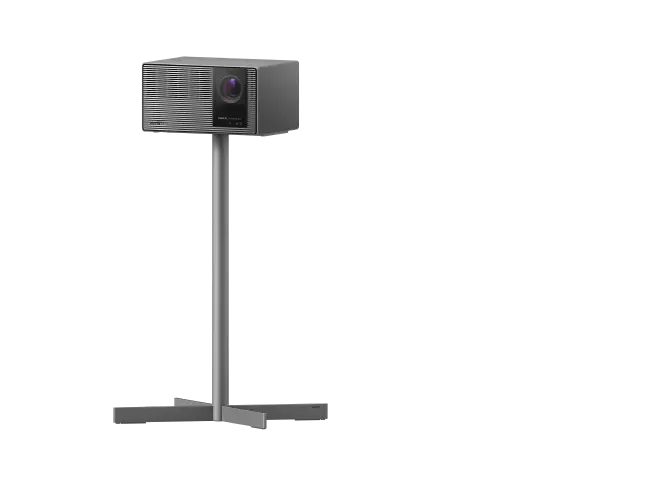
Shelf installations provide a flexible and cost-effective solution for projector setups. Users can easily adjust the height and angle for optimal projection by placing the projector on a sturdy shelf. This option is ideal for temporary setups, or a fixed mounting solution is not feasible.
Connecting the Projector
Power up the projector and connect it to the power source. Establish connections with your video sources (e.g., smartphone, laptop, DVD player) using cables such as HDMI or VGA.
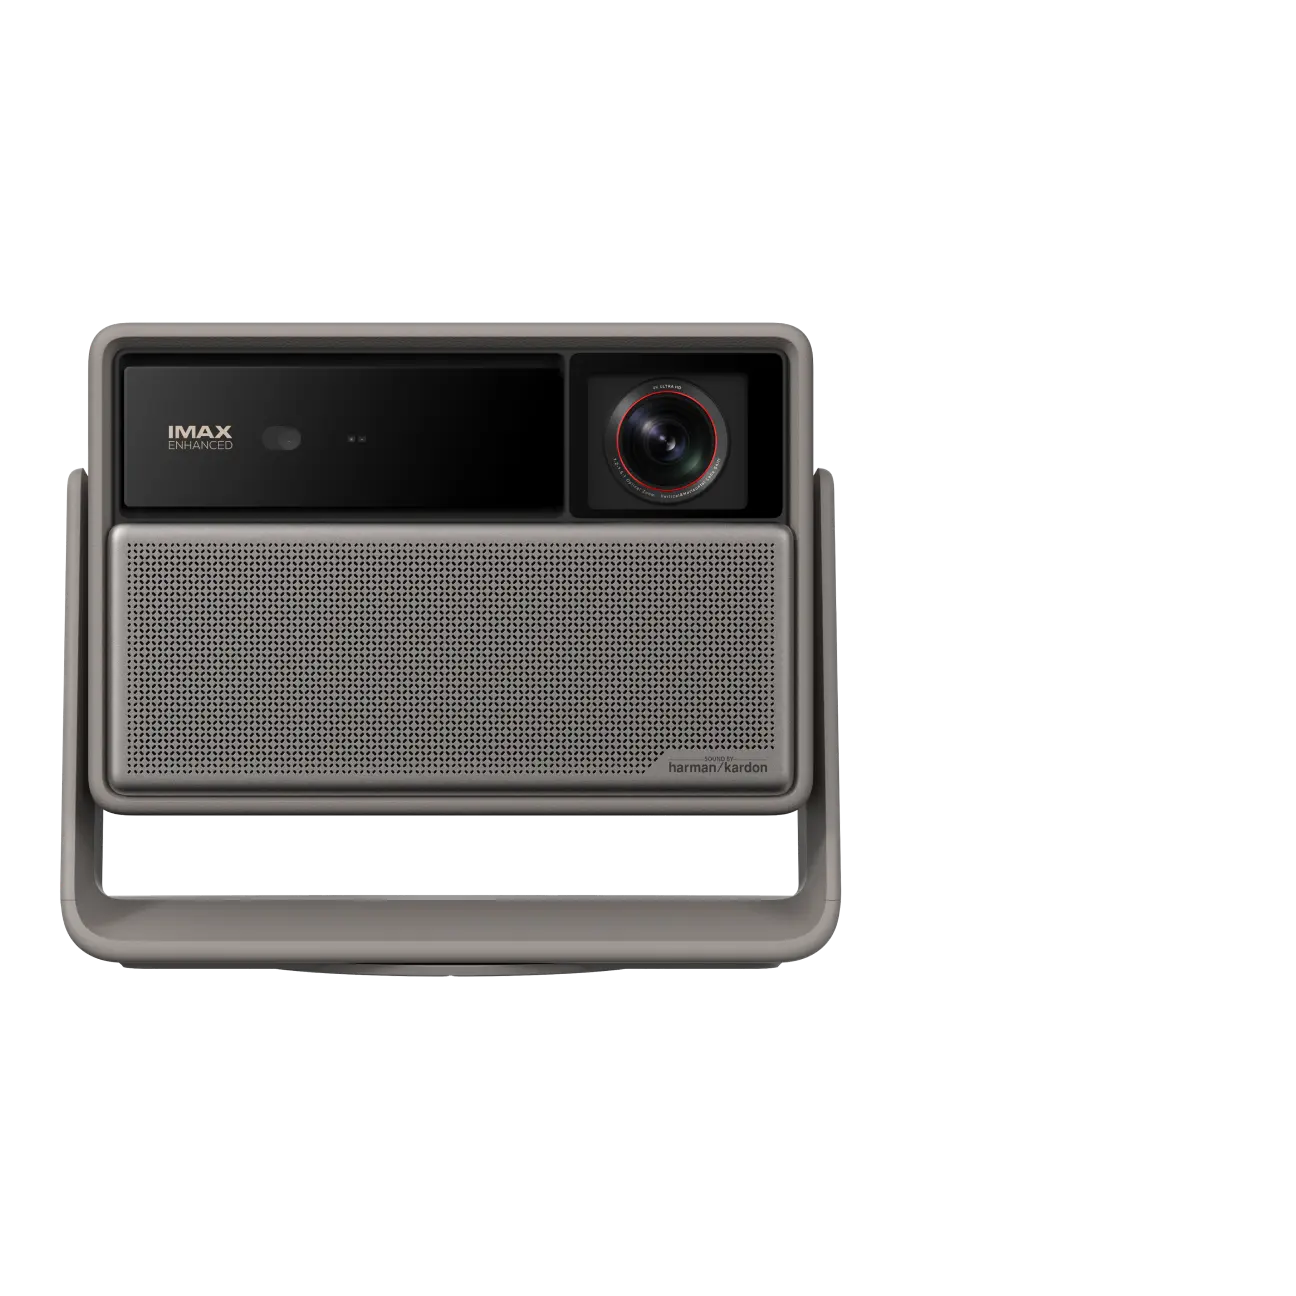
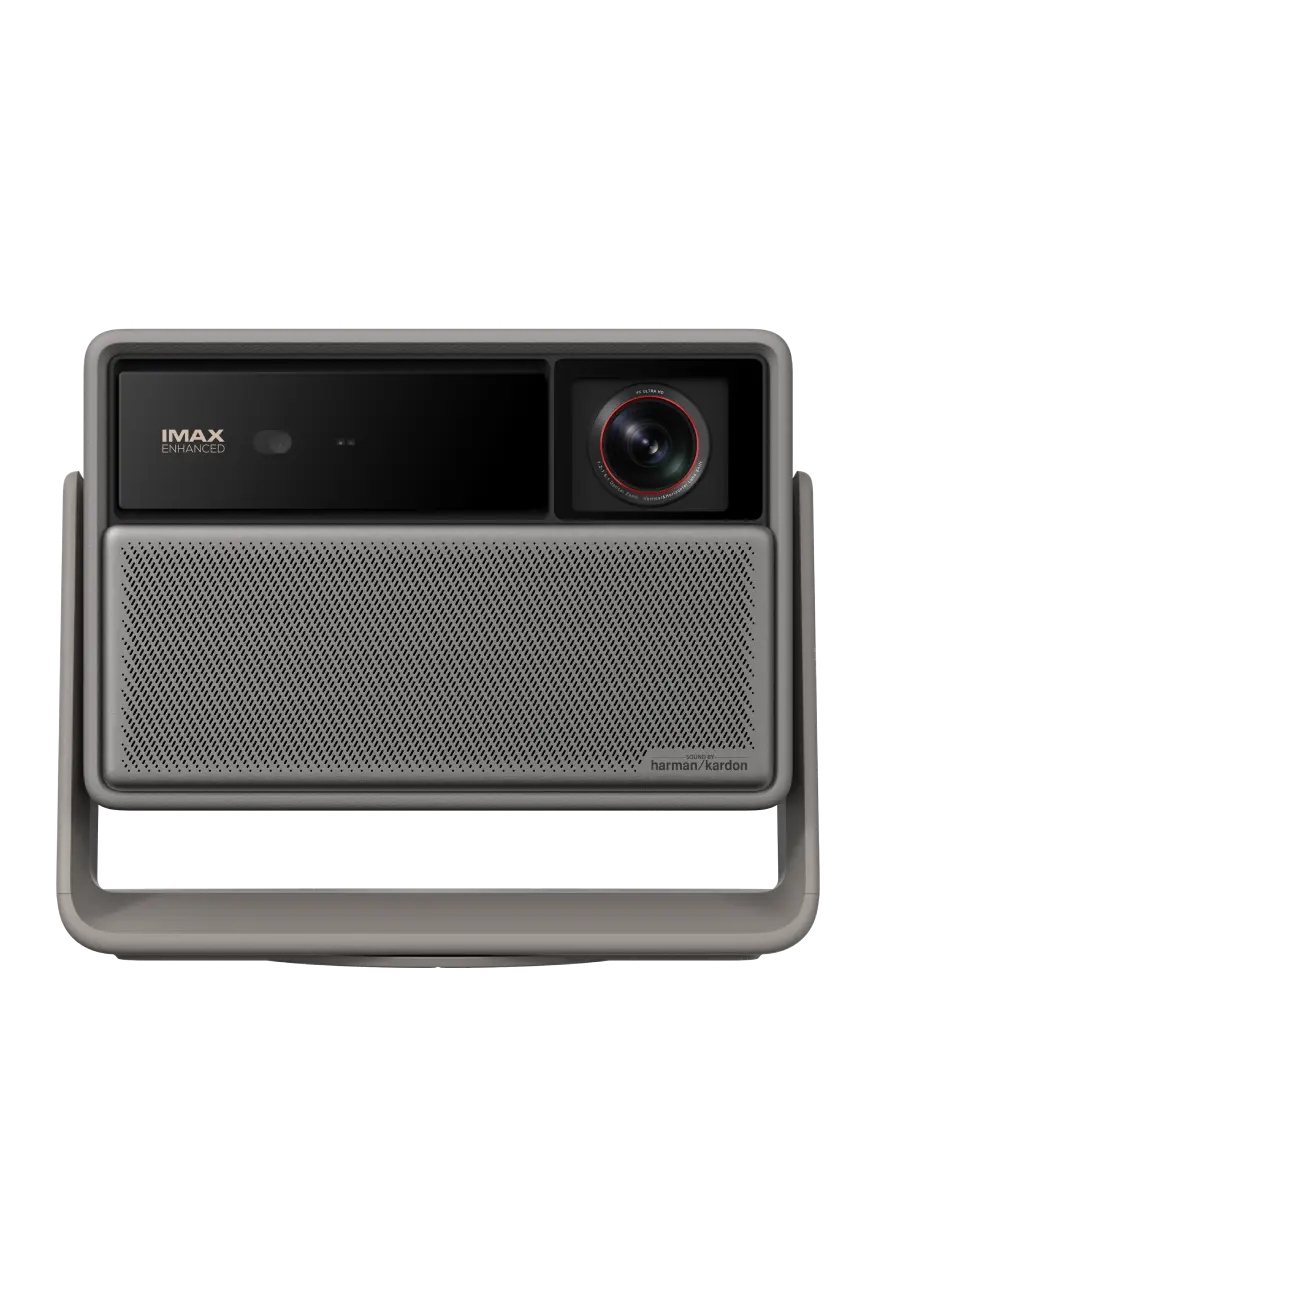
You can use the projector's built-in speakers or connect an external speaker system for audio. Here, you can choose a better projector with a worthy built-in speaker, like the XGIMI HORIZON 20 Series home theater projector with powerful Harman Kardon speakers for immersive sound.
article_product2

Other Settings
1. Keystone Correction
You can use keystone correction to fine-tune the image shape. Focus the projector lens to ensure a sharp and clear image. If available, use zoom functions to adjust the image size.
2. Color Calibration
Calibrate the colors to achieve accurate and vibrant image reproduction.
3. Screen Calibration (if using a projection screen)
Ensure the projection screen is the right size and height for the best results.
4. Remote Control and Additional Features
You can familiarize yourself with the projector's remote control and explore additional features, such as built-in apps or networking options.
Safety and Setup Tips
● Secure and organize cables to prevent tripping hazards.
●Please keep the projector's manual and relevant documentation for troubleshooting and reference.
Final Takeaway
In addition to this blog, you can read the manual to help you achieve your desired results with your projector. Investing time and effort in a complete projector installation can significantly enhance your audiovisual experience.
A well-installed projector can open the door to an immersive world, whether in a home theater or a professional presentation space. Follow the steps above to explore the capabilities of your specific projector model and begin the journey to unlocking your visual presentation potential.
Choose a projector that best fits your needs and enjoy a more immersive viewing experience.


